
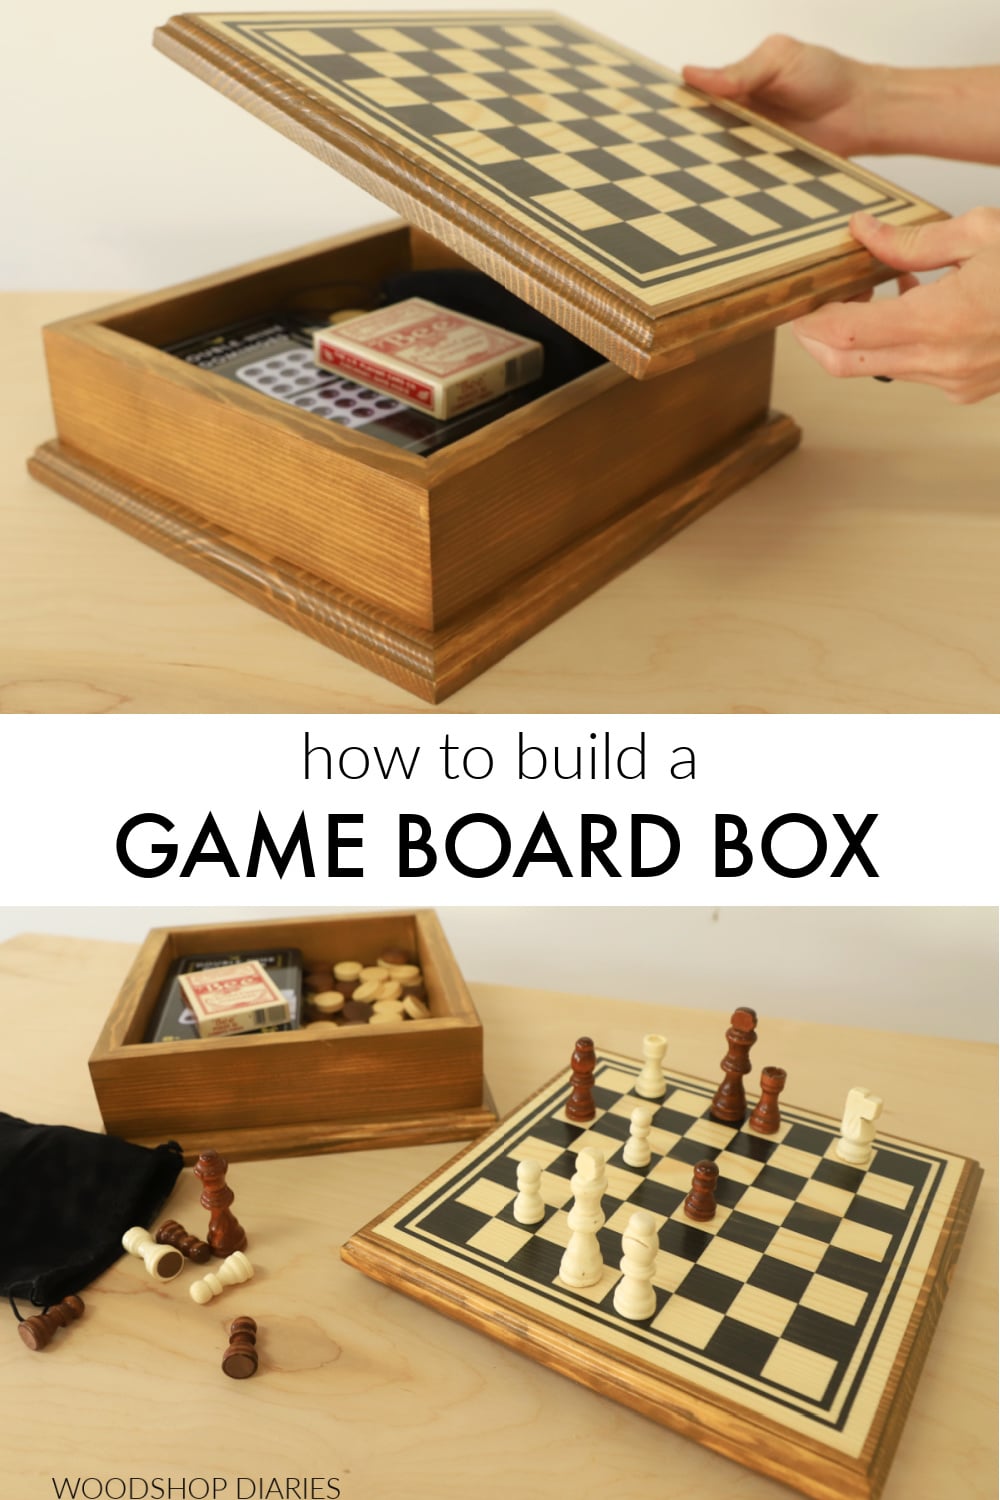
In this post, I’ll show you how to build a wooden game board box from wood scraps!
This simple project makes an excellent handmade gift idea and is the perfect place to store your playing cards, dice, chess & checkers pieces, dominoes, and other games in.
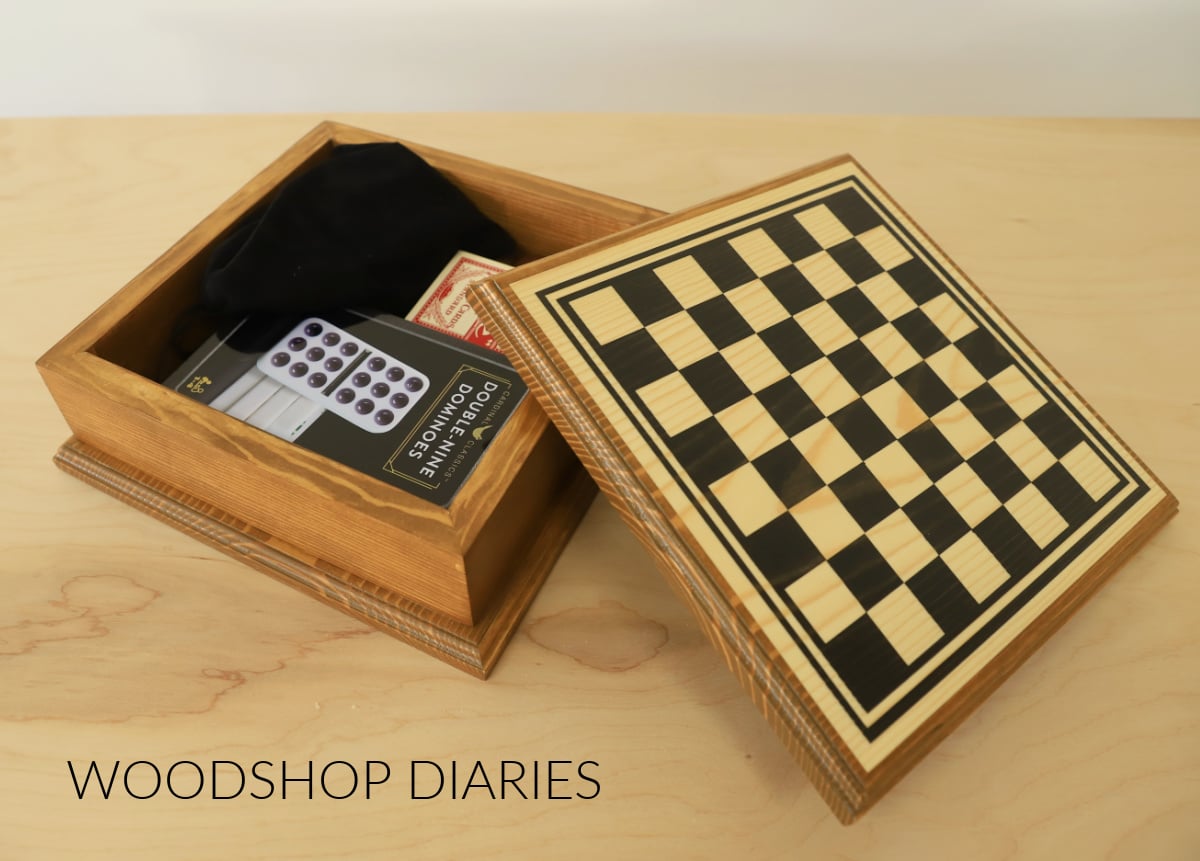
It even makes a whimsical and vintage-y style piece of décor for your coffee table. Lift the lid to kick off game night, then pack it all up when you’re finished.
The best part? You can likely find everything you need to make it in your scrap pile, so it’s an easy, budget friendly build.
I’ll show you exactly how to put it together below, so let’s dive in and get building!
*This post contains affiliate links. See website policies.
What to consider before building
This is an excellent scrap wood project because all the pieces required are quite small.
Want to substitute materials? You can swap any of the 1x material for ¾″ plywood if you’d like. You can also use 1x2s or 1x4s in place of the 1x3s for the sides as well (though, keep in mind that will change the inside dimensions of the box).
So there isn’t one right or wrong way to build this…there are lots of options!
I used scrap pine/spruce (the cheap whitewood stuff you get from the big box store!) wood for mine, but you can use any wood type you’d like.
CHECKERBOARD PATTERN
To create the checkerboard top, I used a Cricut Machine and some permanent vinyl as a staining stencil (see video below). If you don’t have a Cricut or other vinyl cutting machine, you can use painters tape to create your own stencil instead.
The pattern is essentially just 8 row and 8 columns of equally sized squares with an optional thin border around the edge.
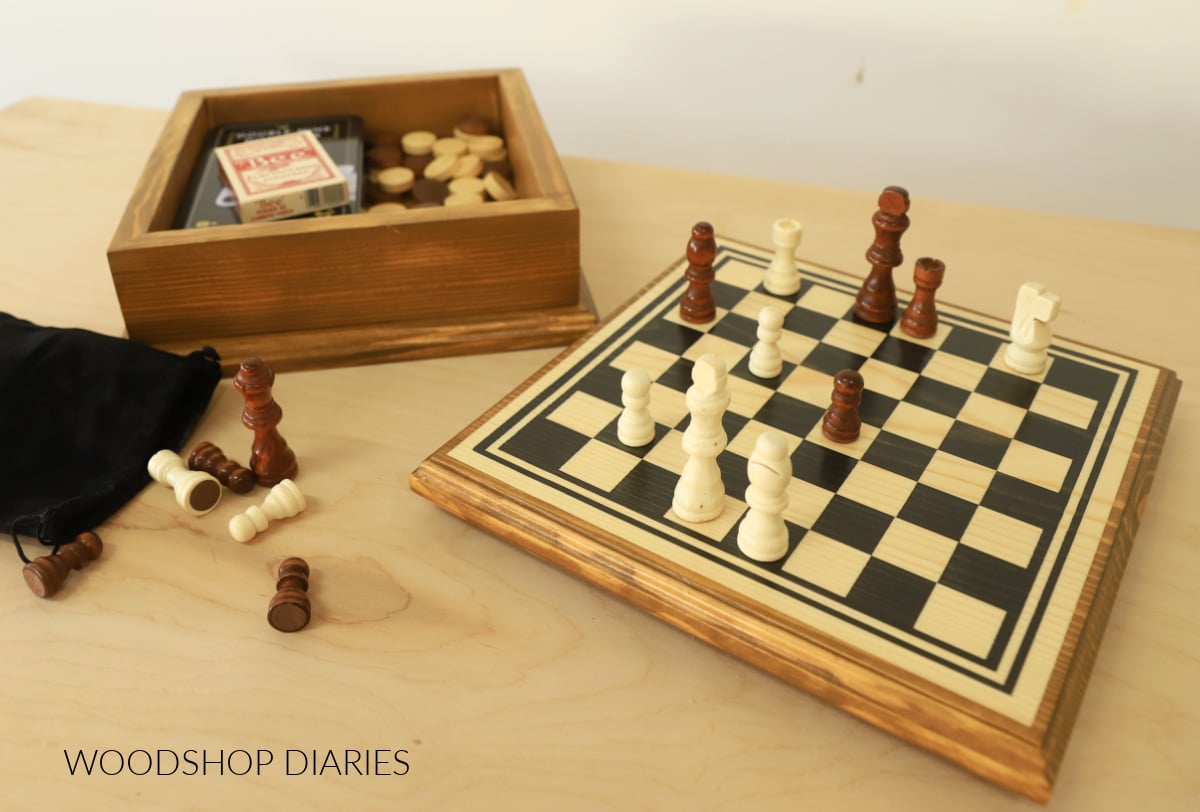
Each square is 1 ⅙″ square, so you can mark the lid and tape off the lines. You can cut out the squares needed using a utility or exacto knife.
Paint and/or stain your squares as desired. If staining, I recommend water based stain as it’s less likely to bleed under the vinyl/tape.
As for game pieces, I found this set that includes both checker and chess pieces that fits this board size perfectly.
Overall Dimensions
The overall dimensions of this DIY game board box are 4″ tall x 11 ¼″ square.
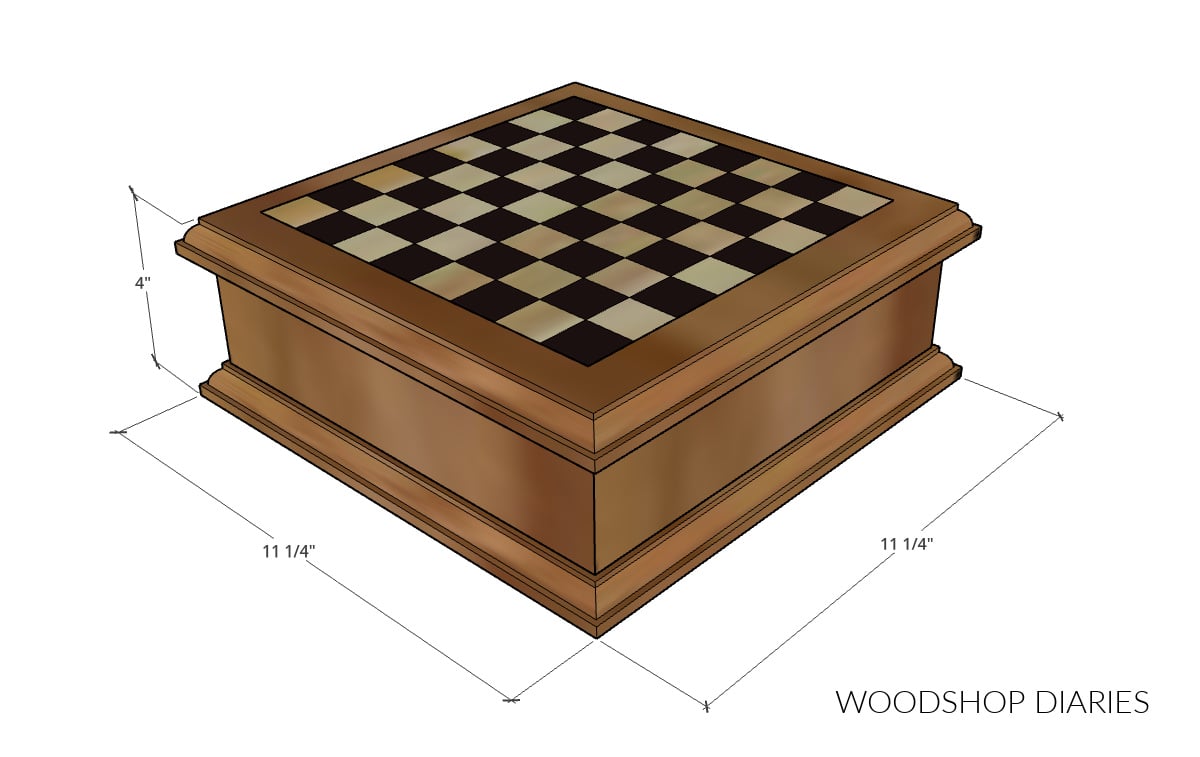
The inside dimensions of the box are 2 ½″ tall x 8 ¾″ square. This is large enough to fit a set of dominoes, a deck of cards, chess and checker pieces, and some dice.
Want to be the first to know about new projects and plans? Subscribe to the newsletter for priority access!
How to Build a Wooden Game Board Box
I’ve included the step by step building instructions below along with printable building plans. But, if you prefer to watch, I’ve also included a build video as well.
Love watching how-to videos? Subscribe to my YouTube channel for plenty more where that came from!
Prefer to print? Grab the printable DIY game board box building plans here:
Tools & Materials
Tools:
- Miter Saw
- Router + Decorative Edge Bit (optional)
- Clamps
Materials:
- 1×12 board (2′ length)
- 1×3 board (4′ length)
- ½″ square dowel (or other small trim…see step 5)
- Wood Glue
- Painters Tape
- Game Pieces to put inside (deck of cards, chess & checkers, dominoes, dice, etc)
- Wood Stain/Paint as desired
Step 1: Cut Top and Bottom Panels
First, I cut two pieces of 1×12 board into squares for the top and bottom of my box.
To give these a little extra character, I used a router and Roman Ogee bit to add a decorative edge around all sides. This is totally optional, but is an easy way to dress this up.
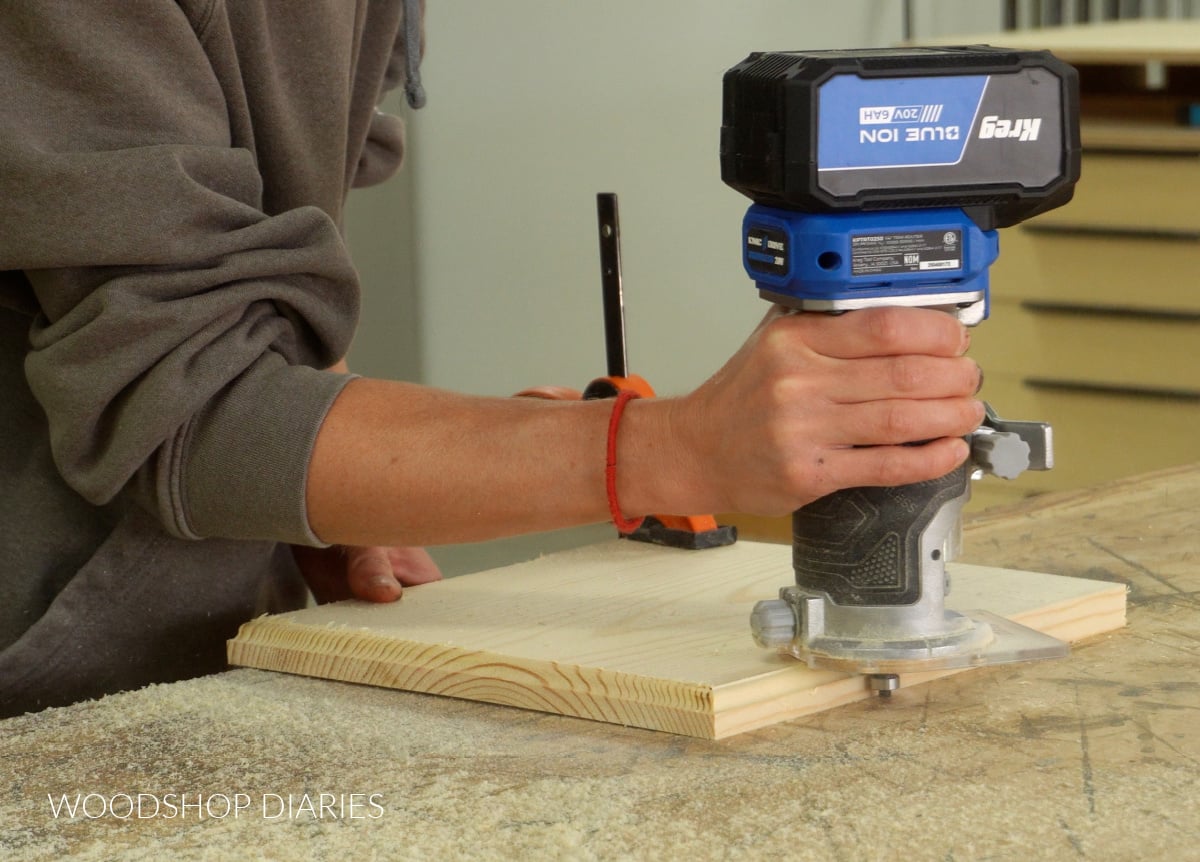
Feel free to use any decorative edging bit you’d like: roundover, chamfer, etc. It doesn’t have to be an ogee.
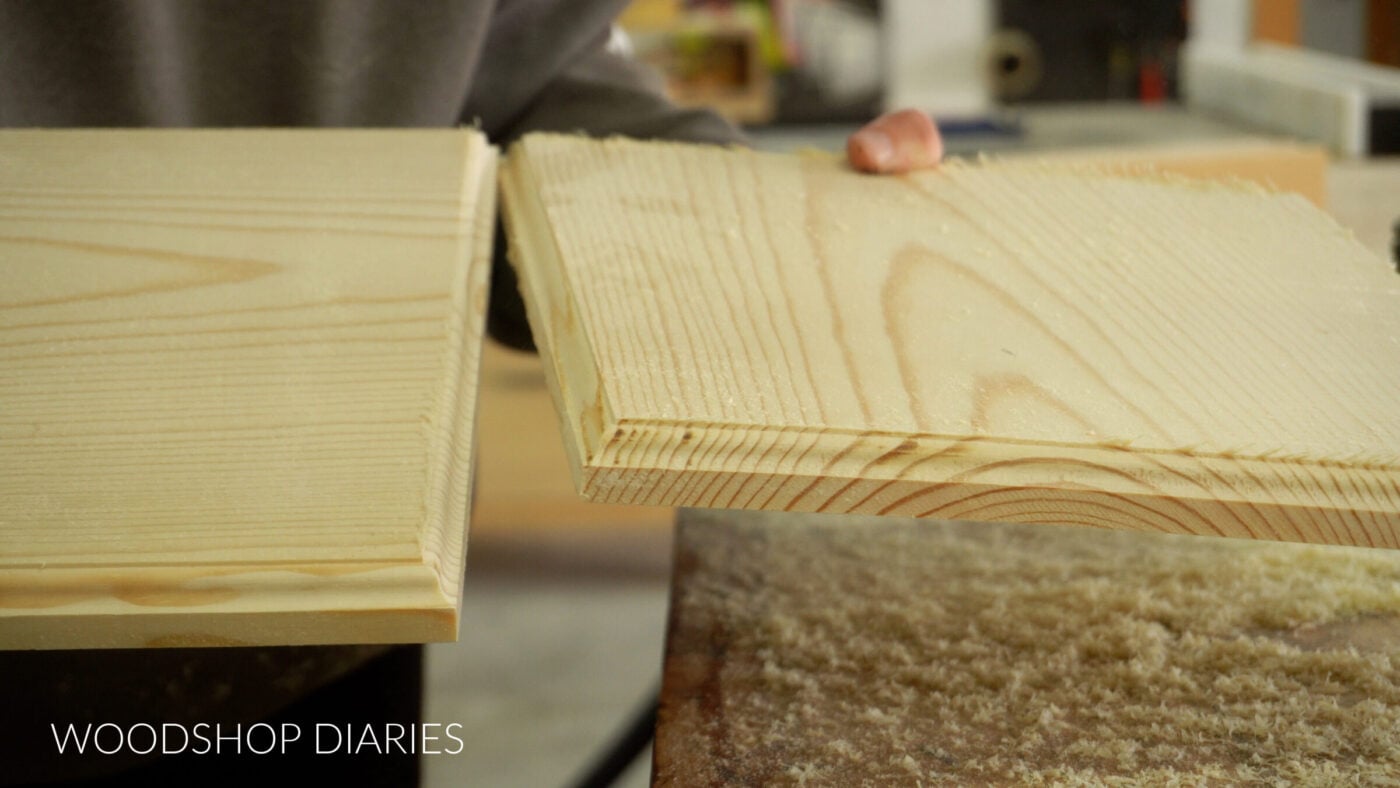
My router bit was in kind of rough shape so it left my edges a bit rough, so after routing, I sanded these pieces well.
Prefer to print? Grab the printable DIY game board box building plans here.
Step 2: Cut and Assemble Box Sides
The decorative edge left the top of my pieces a little under the full 11 ¼″ square, so I carefully measured the size of the flat top surface of my top and bottom pieces from step 1.
Then, I cut 1×3 boards with 45 degree beveled ends so that when put together, they’d form a box just slightly (about ¼″) smaller than the top surface I had just measured.
NOTE: You don’t have to build the box with beveled ends…you could just butt joint them. But the beveled ends look a bit cleaner so you don’t see any end grain.
To glue this up, I placed my 1×3 boards on my workbench end to end, so that the long side is facing up. Then I applied painters tape across these joints (far left in image below).
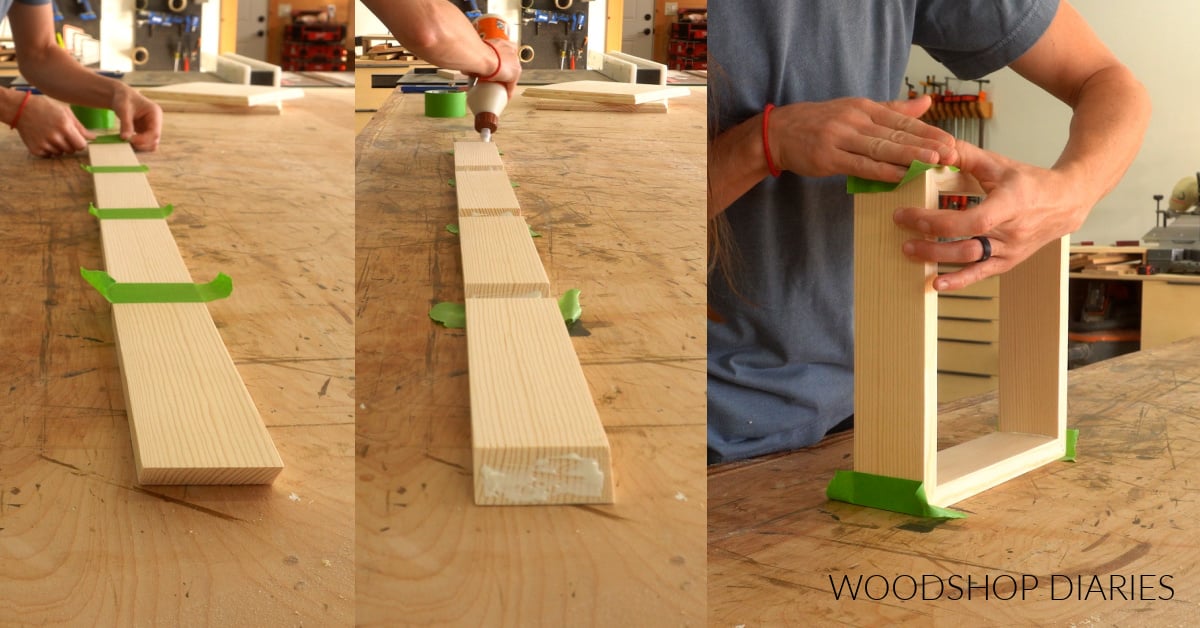
Then, I could flip this over (middle of image above) and apply wood glue to the beveled ends. That allows me to kind of “fold” the box together (far right of image above), and the tape acts as the clamp.
You can clamp in addition to the tape if you need to pull some of the joints a bit tighter.
Step 3: Stain or Paint Pieces Separately
Once the glue was dry on the box, I sanded well, then stained the bottom from step 1 and the box from step 1 in Minwax Water Based Wood Stain in Aged Oak. It’s easier to go ahead and finish these pieces separately before fully assembling.
For the top, I wanted to add a checkerboard pattern for the games, so I cut a vinyl stencil on my Cricut Machine to apply to the top (see notes above). If you don’t have a Cricut or vinyl cutter, you can create your own pattern using painters tape to make 1 1/16″ squares to use instead of vinyl.
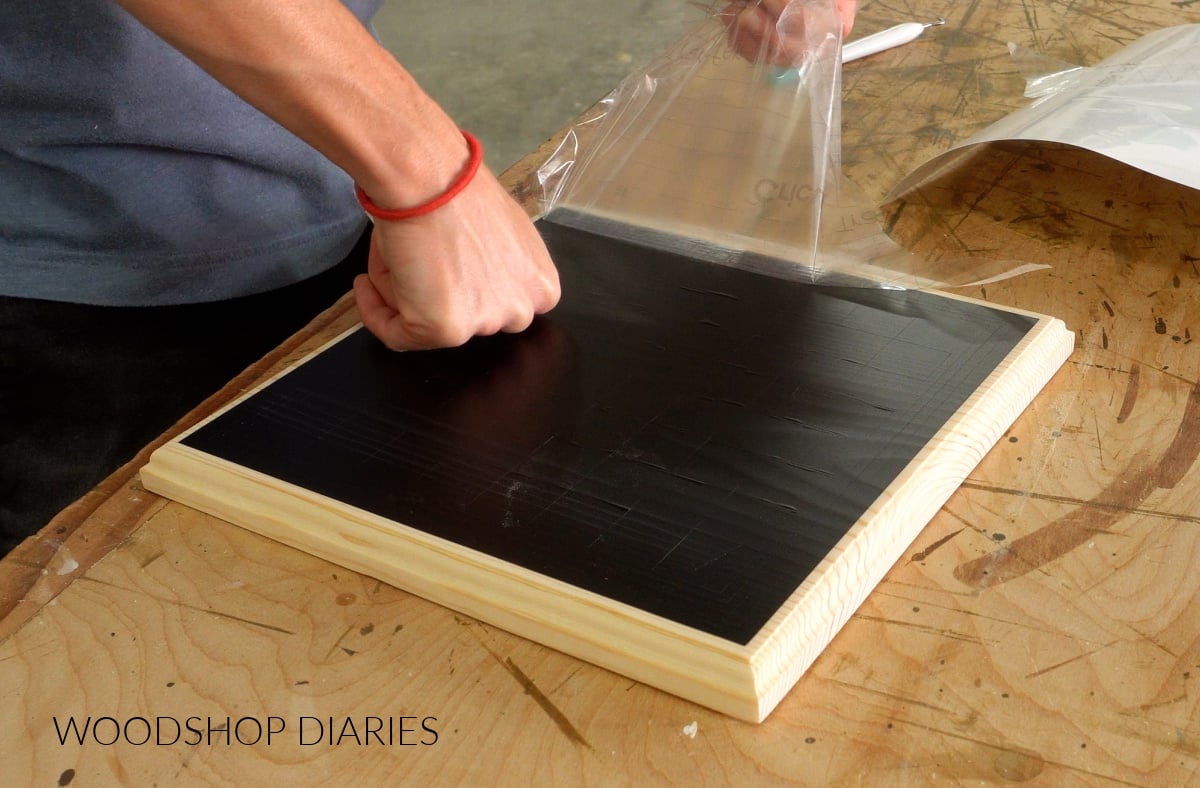
I stained around the edges of this stencil with the same stain I used for the bottom and box sides, then I removed the checkerboard pattern from my stencil.
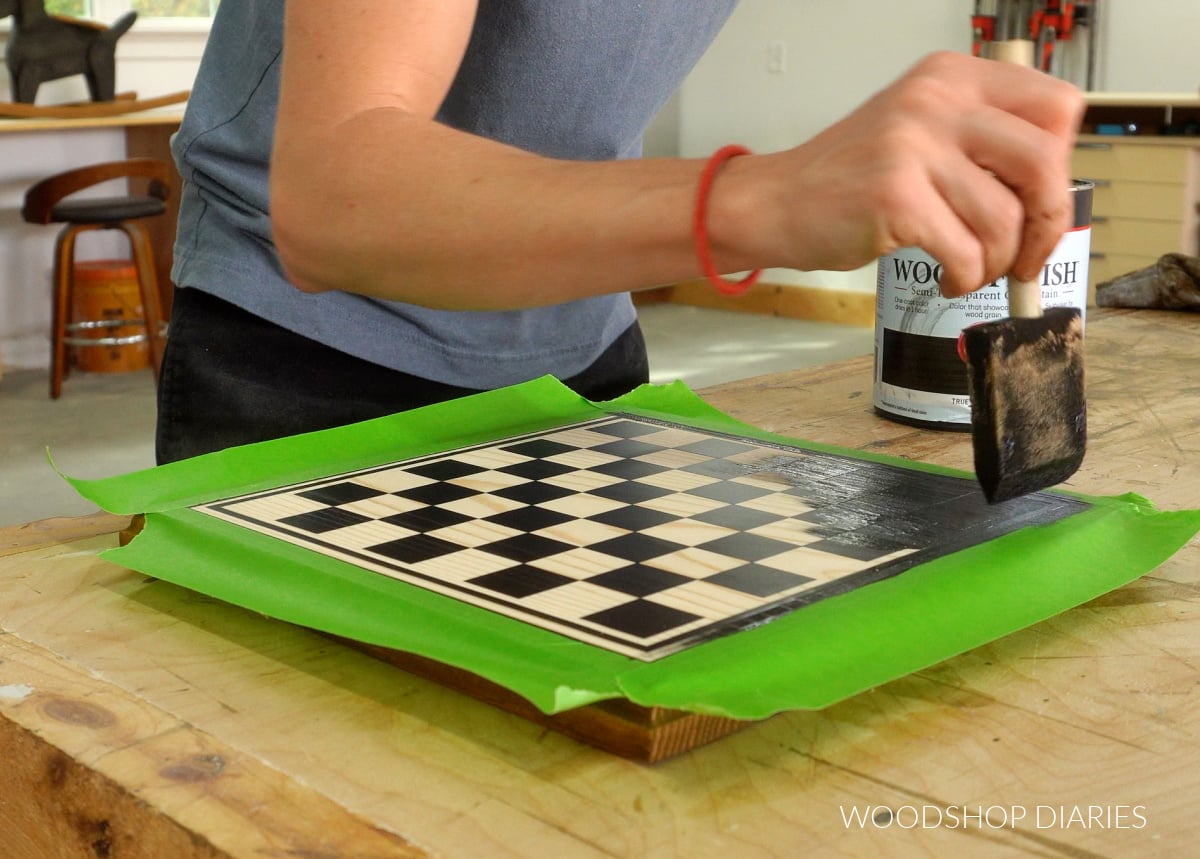
I could have just left the vinyl as my checkerboard…that would have worked fine. But, instead, I stained the raw wood parts in Minwax Water Based True Black.
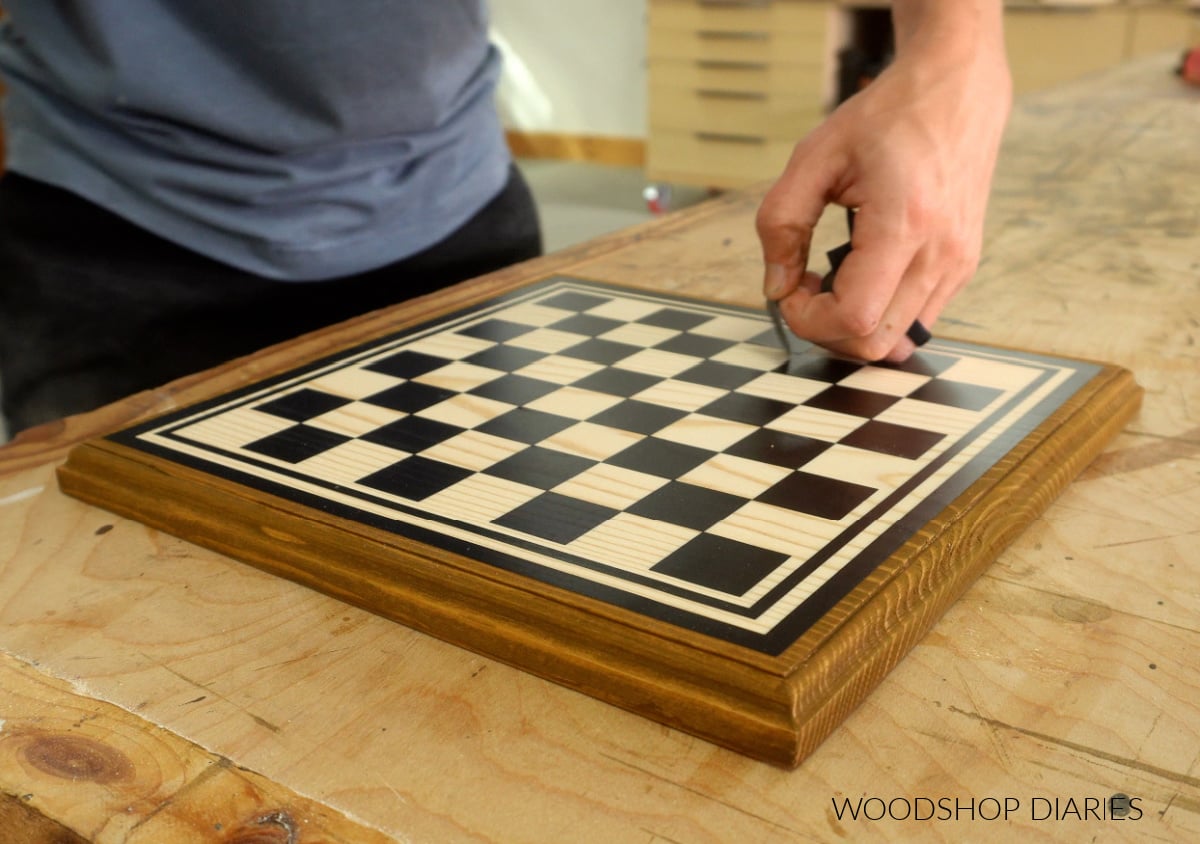
After that dried, I could remove the vinyl and my checkerboard pattern is permanently stained on and can’t peel off (which is why I didn’t want to just use the vinyl as my game board pattern).
TIP: When using vinyl as a stain stencil, I’ve used both permanent and removeable vinyl and both work well. I recommend using water based stain or paint vs an oil based stain. Water based stains are thicker and less likely to seep under the vinyl so they leave much crisper lines.
Step 4: Attach Box Sides & Bottom
I applied a bead of glue along the bottom edges of the box.
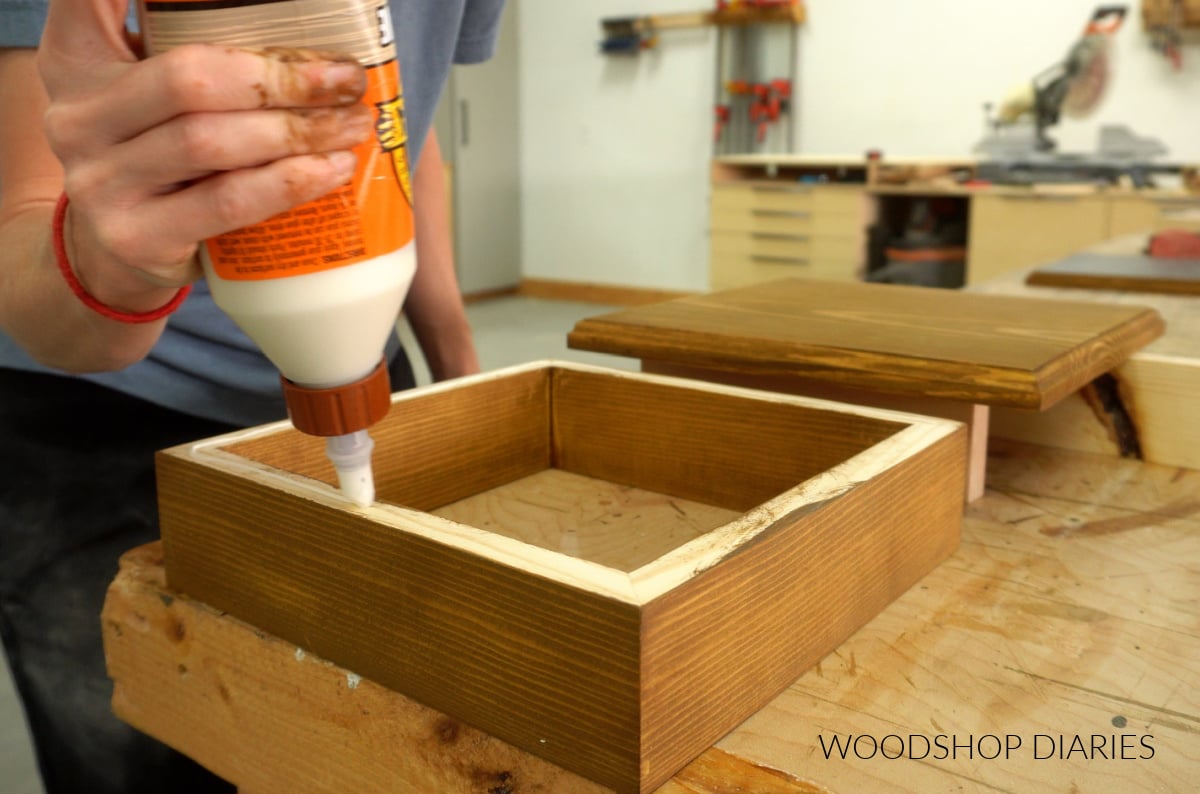
Then, I flipped it over, centered it on my bottom panel, and clamped until it was dry.
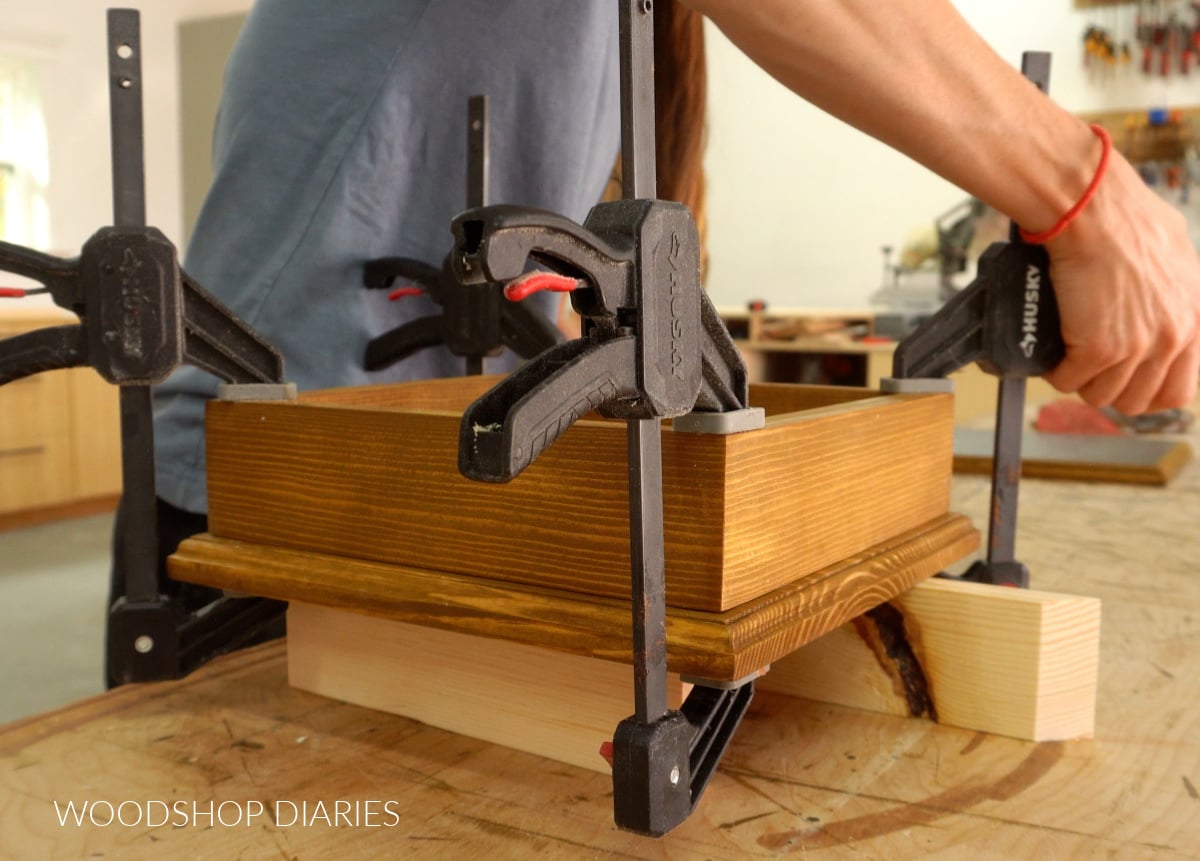
Glue alone should hold fine, but if you wanted to add some extra screws or nails through the bottom side, you certainly can.
Looking to build your own? Find the printable plans for this project available here.
Step 5: Add “Bumpers” to Lid
Once the glue is dry on the box, this project is pretty much complete. But, if you place the lid onto the box, if it’s tilted, it will slide off.
I wanted something to help keep it in place unless it was lifted, so I cut some ½″ square dowels to line the bottom side of my lid as “bumpers.”
I cut these just a bit smaller than the inside opening of my box (these will need to fit inside), and glued these on my lid so that they were centered on the bottom.
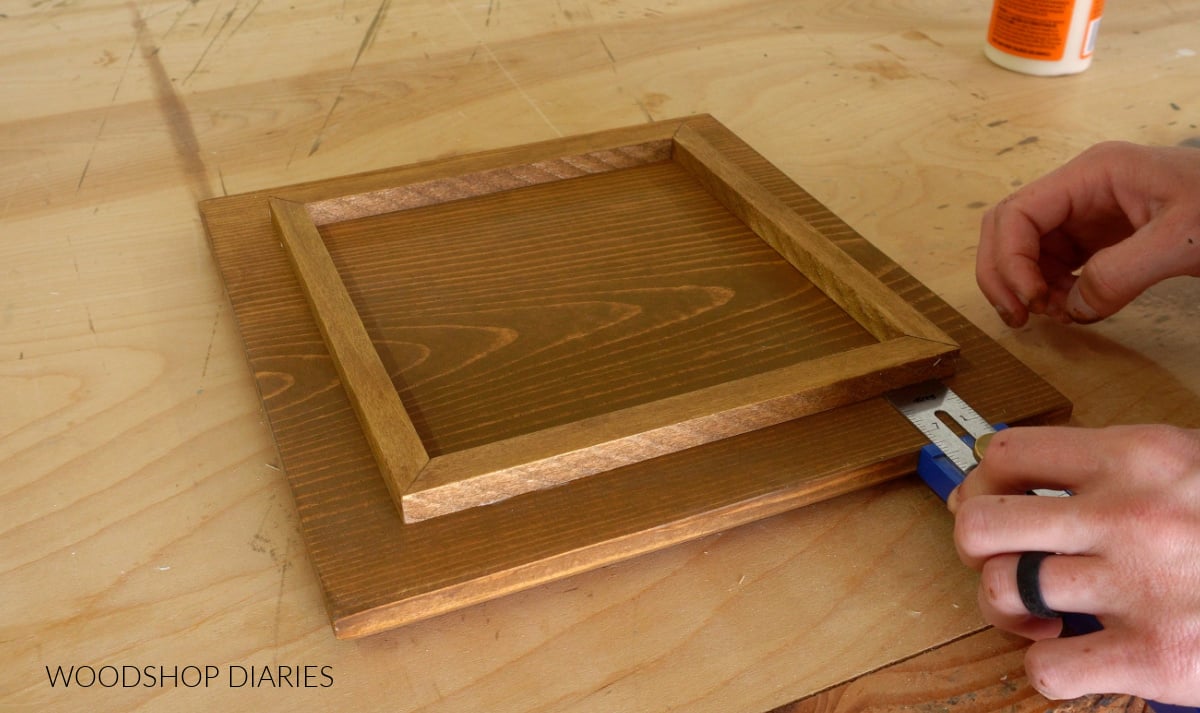
Now, this lid sits snuggly into the box, but can be easily lifted when it’s time to play.
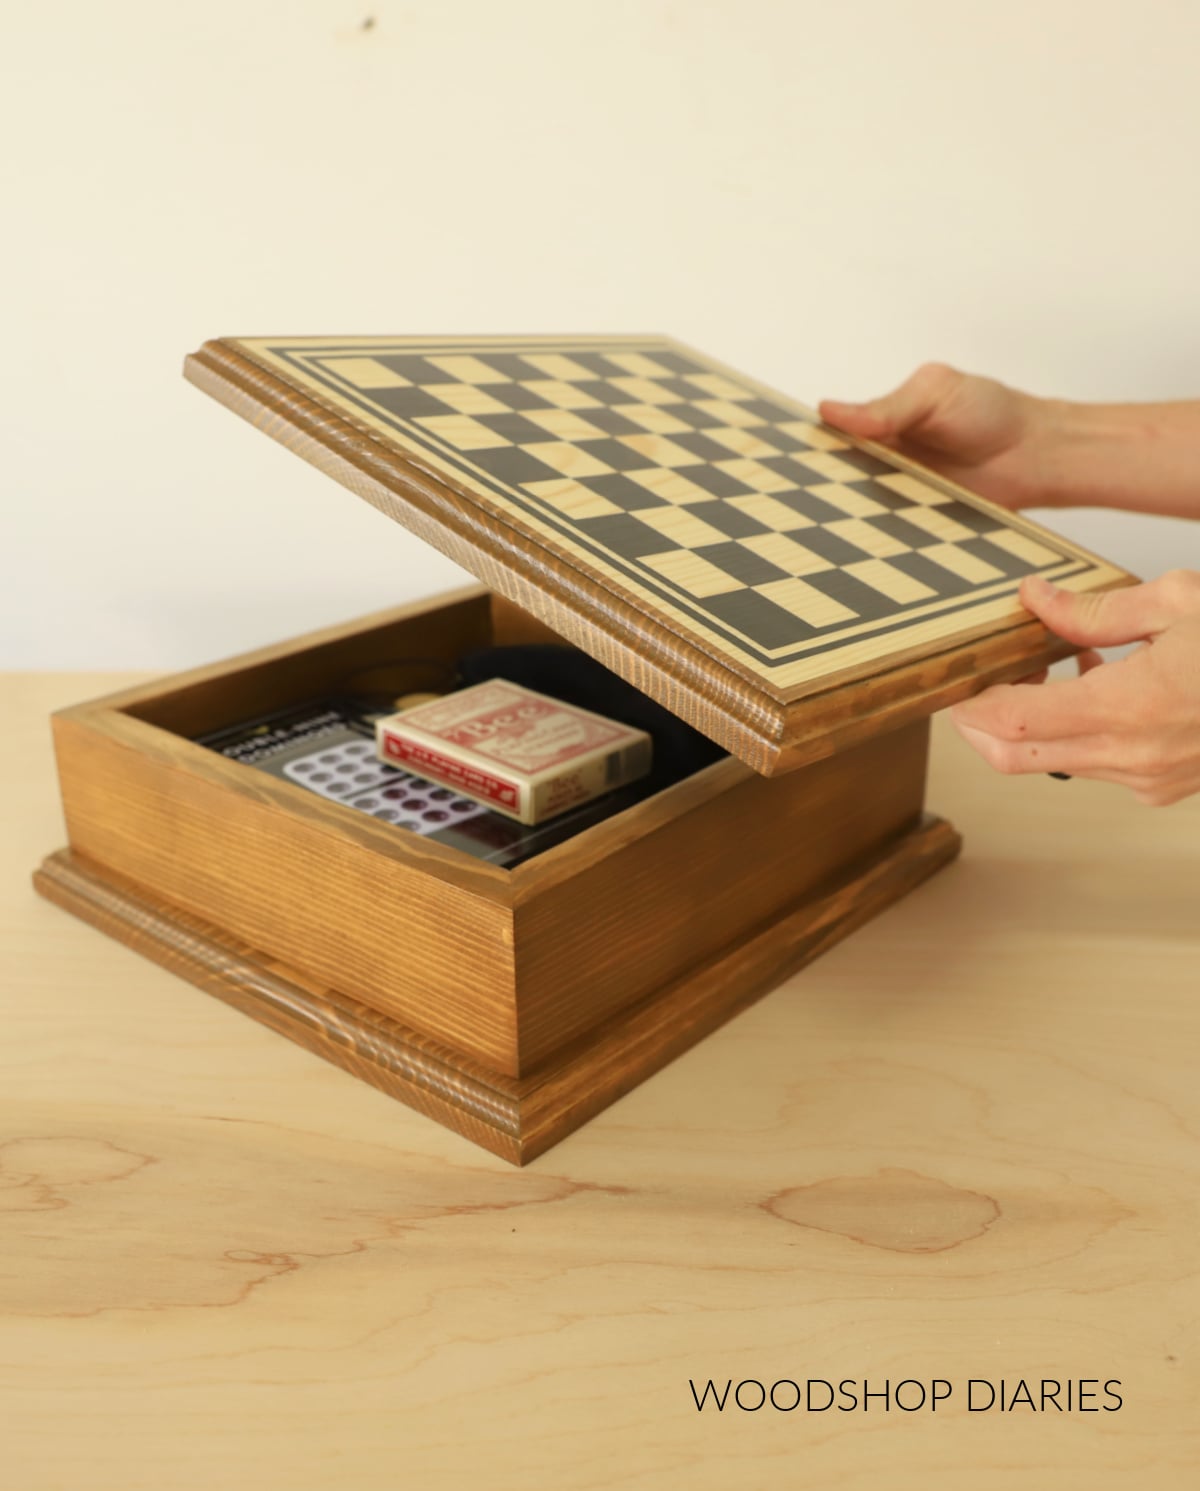
This simple game board box is beautiful vintage-style décor for the coffee table, but isn’t just for looks. It’s a functional chess or checkerboard, and a great place to store your playing cards and dice for game night.
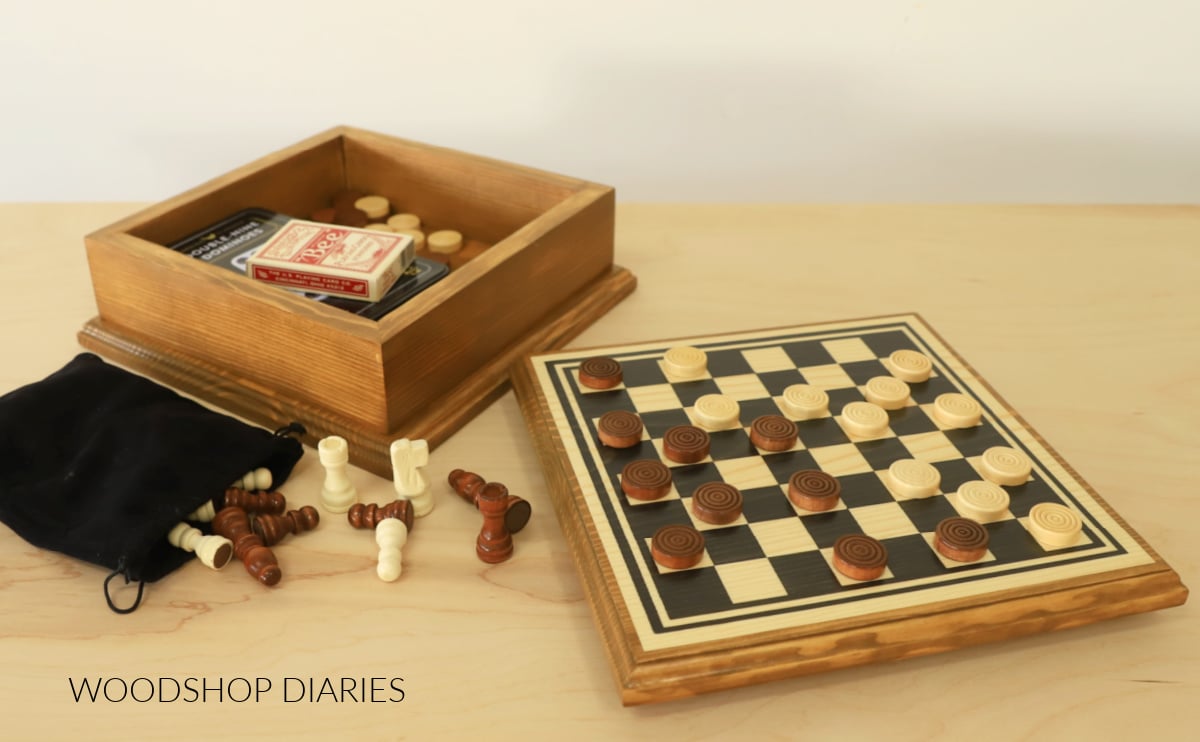
You can pack it full of games and accessories for an inexpensive and unique handmade gift, too!
Looking for More easy DIY projects & gift ideas?
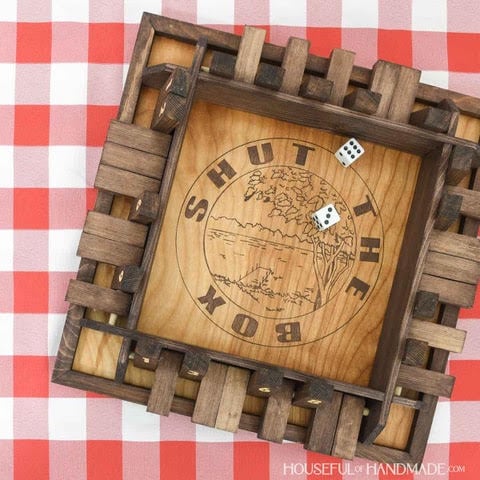
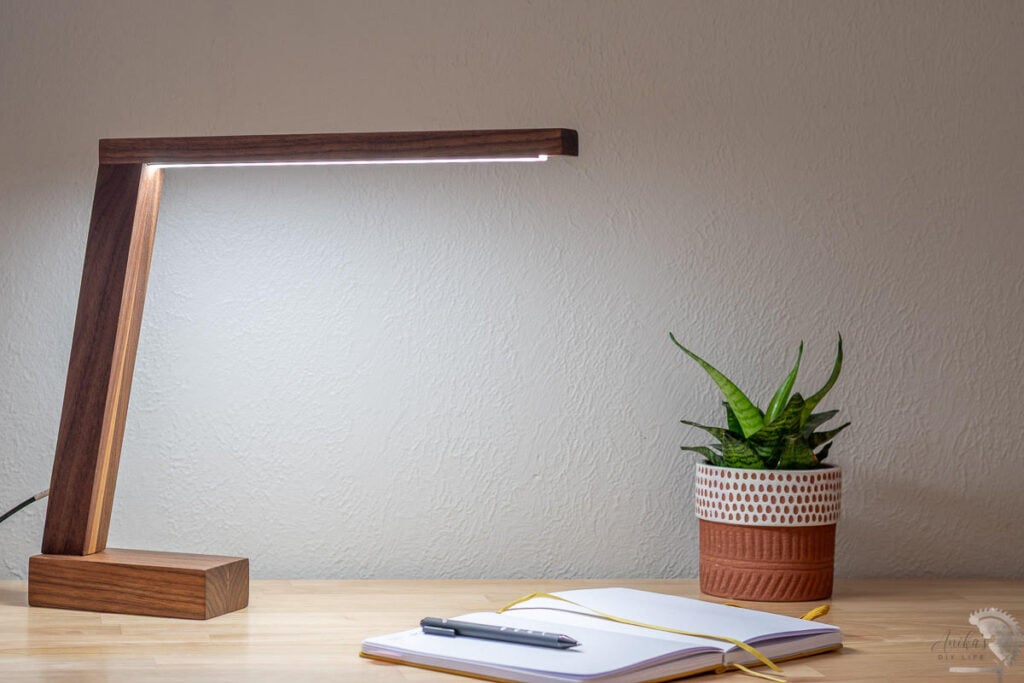
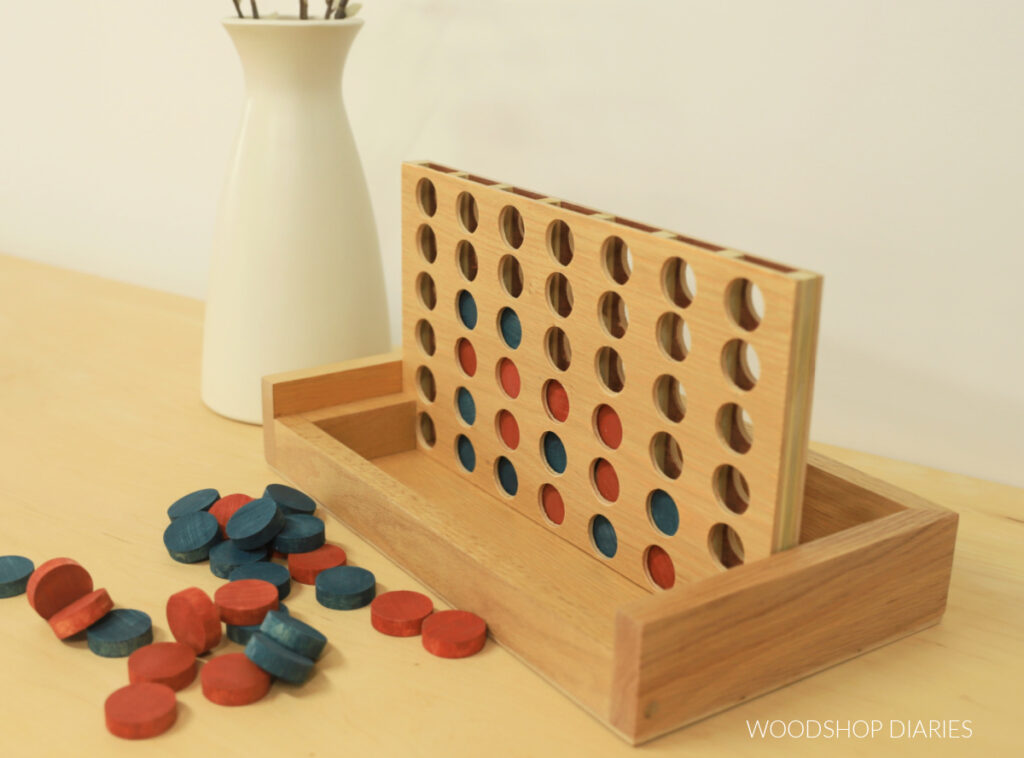
With the upcoming holidays, I’ve teamed up with my friend, Kati, from Houseful of Handmade and Anika from Anika’s DIY Life to share some easy and fun gift ideas that you can make this season!
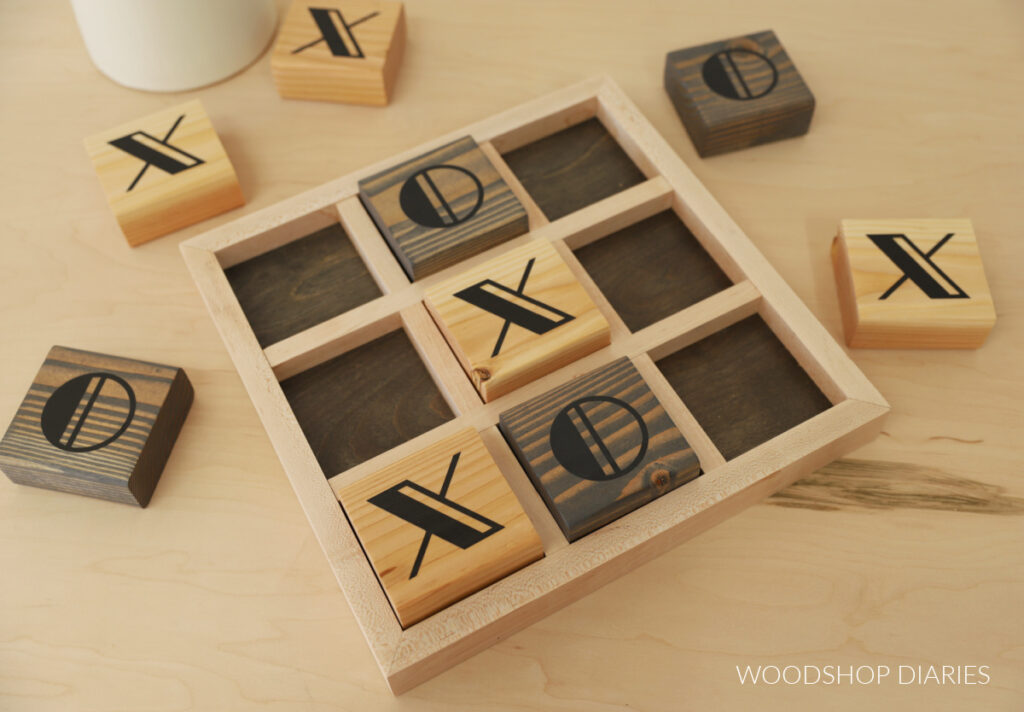
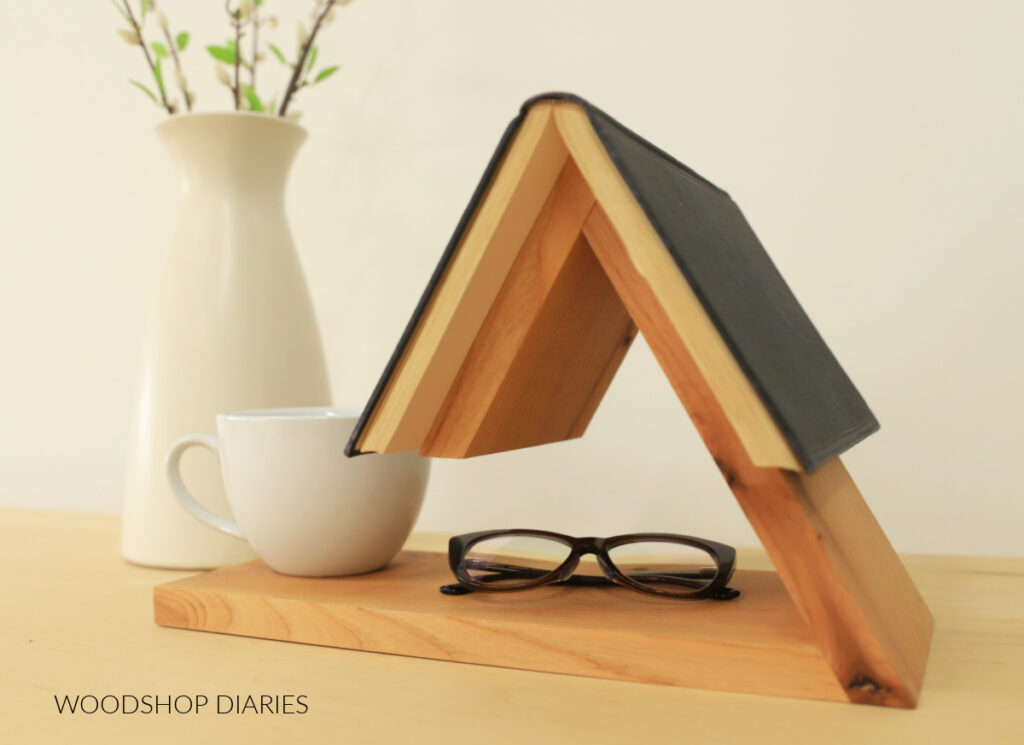
I’ve included their projects in the gallery below plus a few of my own (click on the images to see how to make each one).
Enjoyed this project and want to save it for later? Be sure to pin it or share it to your favorite social channel!
Until next time, happy building!